How to Add Study Materials
Study materials (Notes, Books, Past Question Papers, MCQs, Test Papers, Care Plans, and Case Studies) are always attached to a course. Follow the walkthrough for your role.
Admin
Instructor
Organization
1. Add a Material — Admin Panel
- Log in to the admin panel at /admin.
- In the left sidebar click Education → Classes → Courses.
- Find your course card and click its "Add Notes" (or "Q. Papers") button — the course edit page opens scrolled to the Study Materials section.
- Click the Add Material button.
- In the modal, type a Title and pick the Material Type (Notes, Book, Past Question Paper, MCQ, Test Paper, Care Plan, or Case Study).
- Optionally pick a Category and a Related Quiz.
- Click the Main File field and choose the PDF/document in the File Manager.
- Optionally add a Solved Version / Answer Key file and a Description.
- Click Save. The material now appears in the section's table.
2. Add Many Files at Once — Admin Panel
- On the same course edit page, in the Study Materials section, click Bulk Add.
- Click Quick Upload Files and select multiple files (.pdf, .doc, .zip) in one go — a row is created per file with the title pre-filled from the file name.
- Adjust each row's title and type; click + Add Row for extra entries.
- Click Save All.
- To organize afterwards, select materials and use Assign Category or Reassign.
To create the categories themselves: sidebar Classes → Study Materials Categories → fill Title and Order on the left → Save.
3. Add a Material — Instructor / Organization Panel
- Log in and click your avatar → Dashboard to open the panel.
- Open one of your courses' learning page, click the Course Tools dropdown in the top bar, and choose Study Materials (URL: /panel/courses/{course-id}/study-materials).
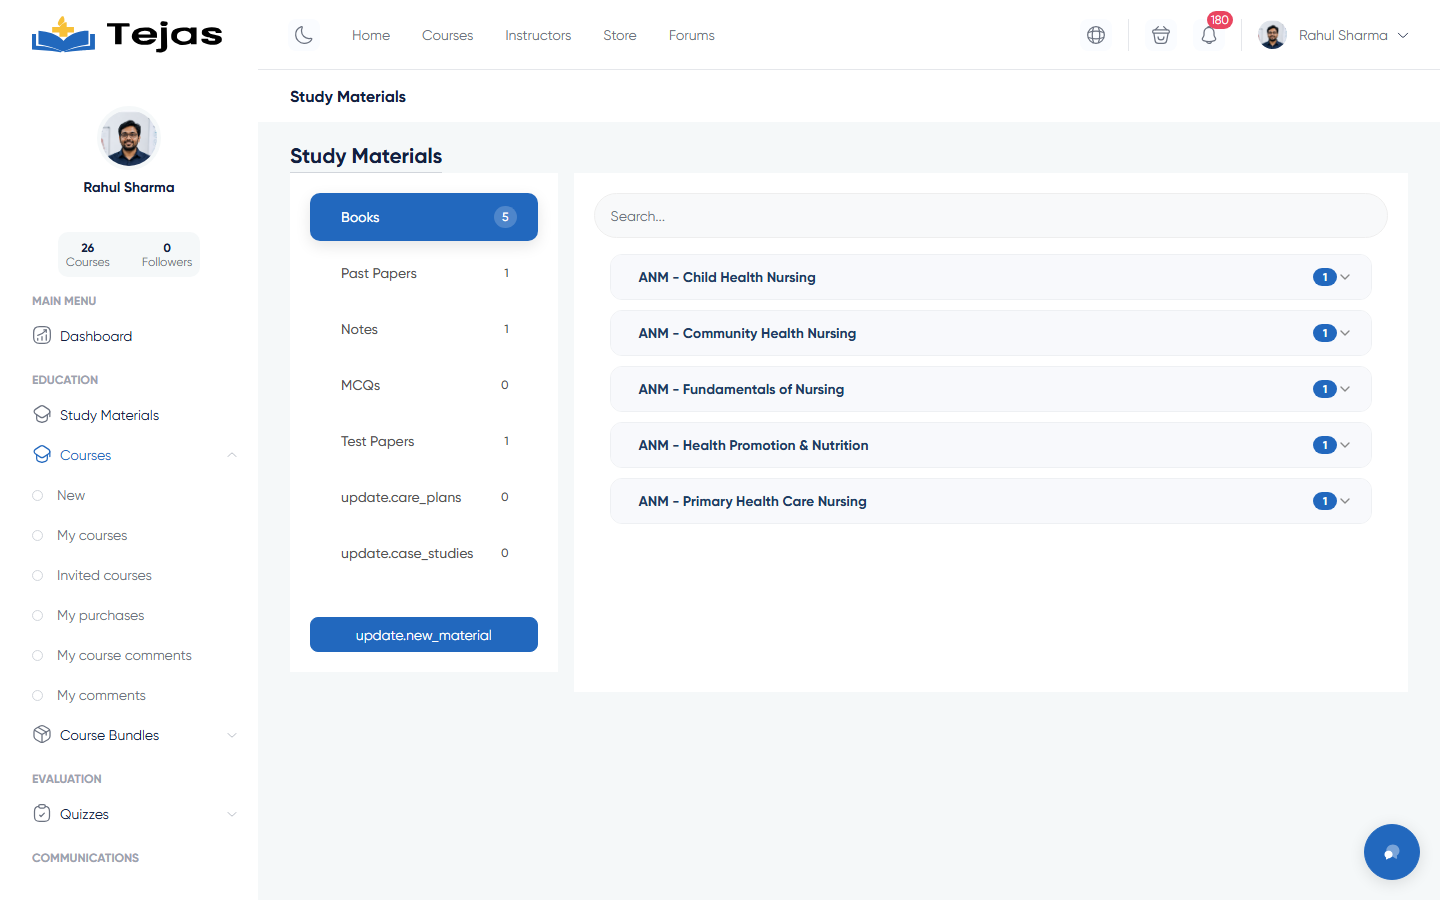
- You'll see one tab per material type on the left (Books, Past Papers, Notes, MCQs, Test Papers, Care Plans, Case Studies).
- Click the New Material button under the tabs (visible only on courses you own).
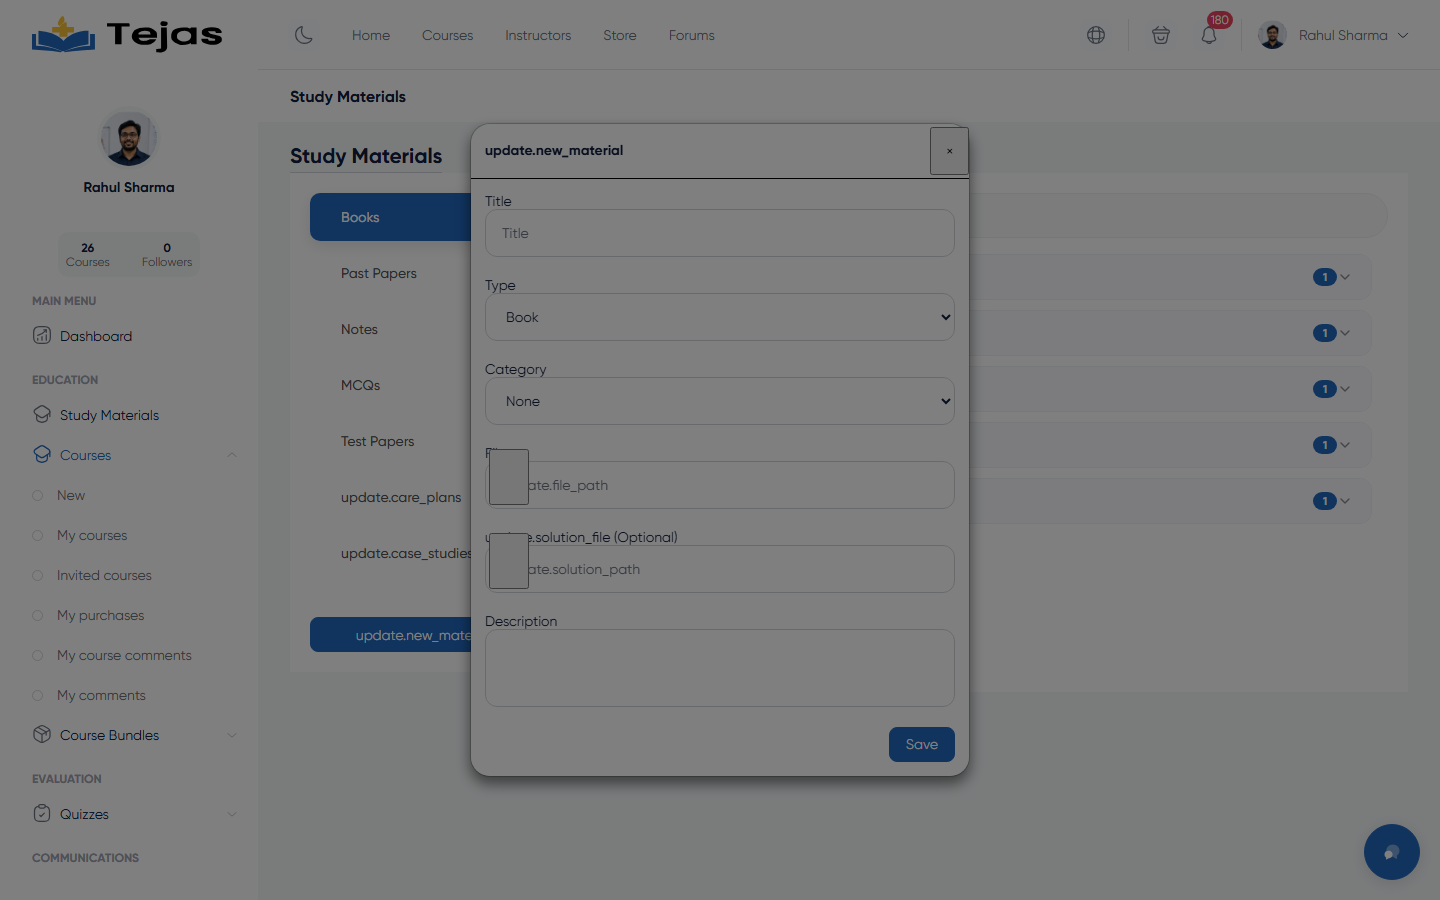
- Fill Title, Type, Category, pick the File, optionally a Solution file and Description.
- Click Save.
- To change or remove a material later, open its ⋮ menu → Edit or Delete.
4. How Students Reach What You Uploaded
Path A — from the course page:
- Open the course page (Courses menu → pick the course).
- Click the Content tab.
- Scroll to the Study Materials accordions and expand a type (e.g. Books).
- Click View (or Solution). The buttons unlock after the student purchases the course; before that a padlock shows.
Path B — from the student panel:
- Log in → avatar → Dashboard.
- Sidebar: Courses → My Purchases.
- On the course card click the quick Notes or Q. Papers button — it opens the Study Materials page on that tab.
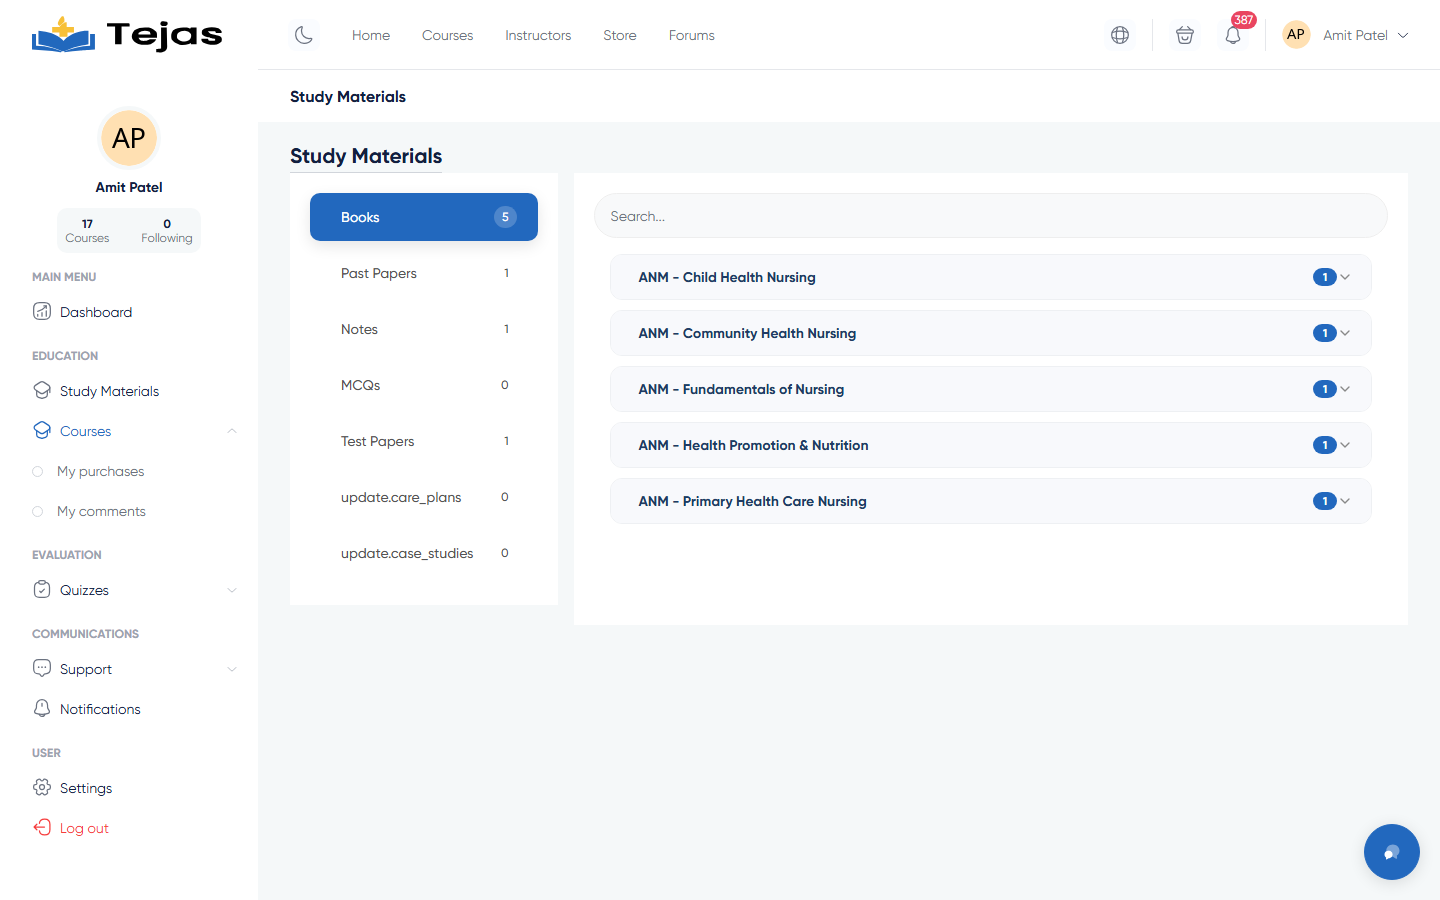
- Pick any tab (MCQs, Case Studies, …), use the search box, and click a file to open it in a new browser tab.